Real-time Webhook Updates with Action Cable
- 6 mins read💡 See the code for this post on the 🔗 webhook-realtime-update branch.
Every side project has a story, and webhookdump’s story began with a common developer frustration. At the time, I was working heavily with third-party integrations that relied on webhook callbacks. During development, I found myself repeatedly setting up temporary endpoints just to debug these callbacks. While I knew I wanted to learn WebSocket programming, and there were plenty of typical WebSocket project ideas like chat applications or WebRTC implementations, my immediate pain point was webhook debugging.
The “aha” moment came when I realized I could combine my learning goals with solving a real problem: why not build a webhook debugging tool with real-time updates? This would not only help me learn WebSocket programming through Action Cable but also create something immediately useful for my daily work.
In this post, I’ll walk you through how I added real-time updates to webhookdump using Action Cable. Let’s break it down step by step.
Prerequisites
Before we dive in, make sure you have Redis set up. Action Cable uses Redis as its pub/sub backend in production.
# config/cable.yml
development:
  adapter: redis
  url: redis://localhost:6379/1

...
Creating the WebSocket Channel
First, let’s generate our WebSocket channel:
rails g channel webhook_request
This creates app/channels/webhook_request_channel.rb. Let’s update it:
class WebhookRequestChannel < ApplicationCable::Channel
  def subscribed
    stream_for "webhook_request:#{params[:webhook_slug]}"
  end

  def unsubscribed
    stop_all_streams
  end
end
The subscribed method is called when a client connects to our channel. Here, we’re using stream_for instead of stream_from - this is a key difference. While stream_from lets you subscribe to a raw string identifier, stream_for is designed to work with Active Record models and handles the channel name generation for us. It’s particularly useful when broadcasting to specific model instances, which is exactly what we need for individual webhooks.
The unsubscribed method cleans up when clients disconnect - it’s like good housekeeping for our WebSocket connections.
Broadcasting Webhook Events
When a new webhook request comes in, we need to broadcast it to all connected clients. I updated the handler action in our WebhooksController:
def handler
  webhook_request = @webhook.webhook_requests.create(
    url: request.url,
    ip: request.remote_ip,
    method: request.method,
    host: request.host,
    headers: request_headers,
    query_params: request.query_parameters.to_json,
    payload: request.body.read
  )

  WebhookRequestChannel.broadcast_to(
    @webhook,
    {
      id: webhook_request.id,
      webhook_uuid: @webhook.uuid,
      method: webhook_request.method,
      ip: webhook_request.ip,
      url: webhook_request.url,
      created_at: webhook_request.created_at
    }
  )

  render plain: 'Ok'
end
Notice how I’m only broadcasting essential information in the payload. While it’s tempting to send everything, keeping the payload minimal helps maintain good performance, especially when you’re dealing with lots of incoming webhooks.
Handling WebSocket Messages in the Frontend
Now comes the fun part - making our frontend react to these WebSocket messages. First, generate a Stimulus controller:
rails g stimulus webhook_request
This creates our JavaScript controller. Here’s the initial setup:
import { Controller } from "@hotwired/stimulus"
import consumer from "channels/consumer"

export default class extends Controller {
  static targets = ['webhookSlug']

  connect() {
    this.channel = consumer.subscriptions.create(
      {
        channel: 'WebhookRequestChannel',
        webhook_slug: this.webhookSlugTarget
      },
      {
        received: this.received.bind(this)
      }
    )
  }

  disconnect() {
    console.log("WebhookRequestController disconnected")
  }

  received(data) {
    console.log("Received webhook data:", data)
  }
}
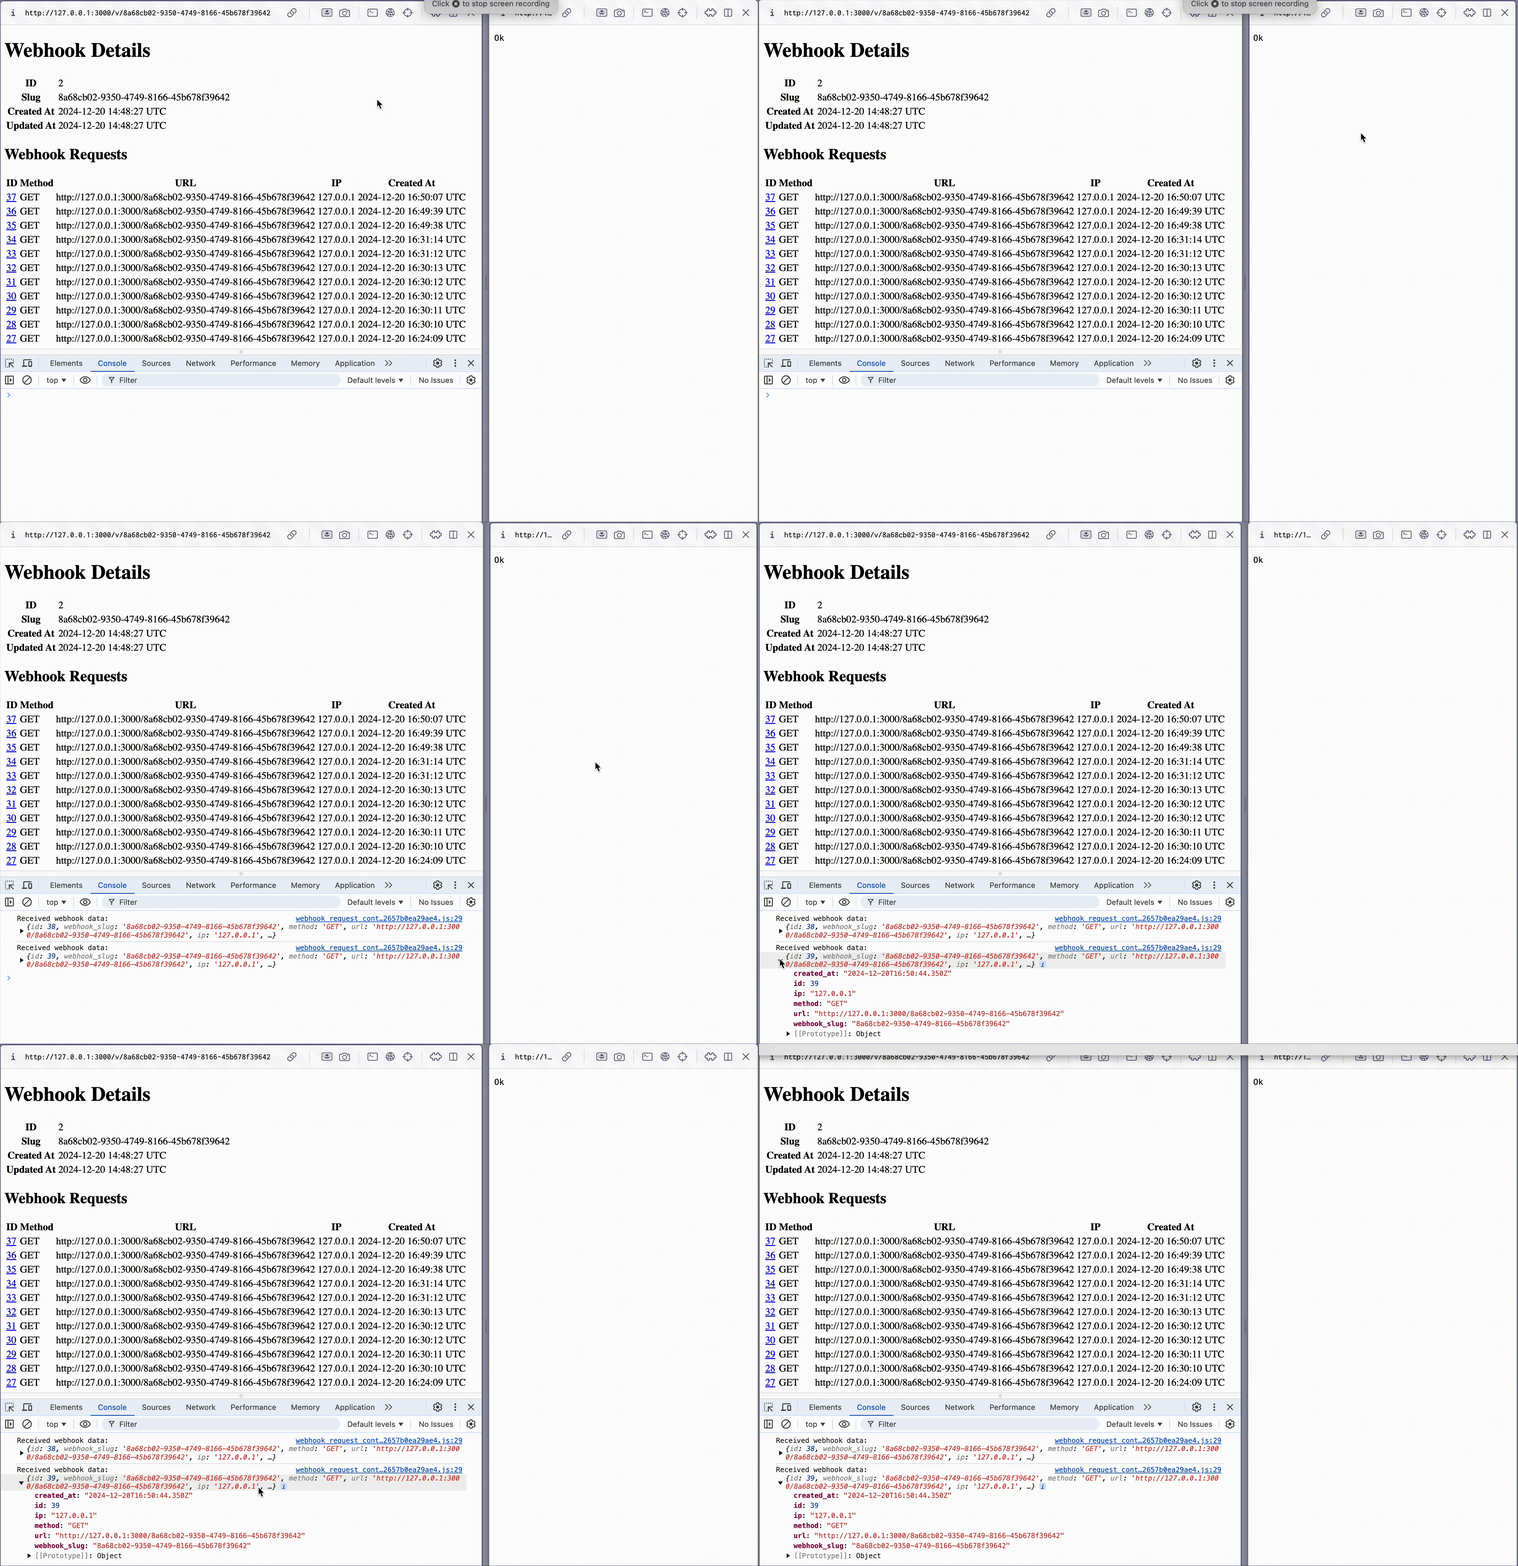
At this point, you should be able to test the connection. Send a webhook request, and you should see the data logged in your browser’s console. If you see the log message, congratulations! The WebSocket connection is working.

Updating the UI in Real-time
Now let’s make it actually update the UI. Here’s our view template:
<table data-controller="webhook-request" data-webhook-request-webhook-slug-value="<%= @webhook.slug %>">

...
	<tbody id="webhook-request-list">
	  <% @webhook_requests.each do |webhook_request| %>
	    <tr>
	      <td><%= link_to webhook_request.id, webhook_request_path(@webhook.slug, webhook_request) %></td>
	      <td><%= webhook_request.method %></td>
	      <td><%= webhook_request.url %></td>
	      <td><%= webhook_request.ip %></td>
	      <td><%= webhook_request.created_at %></td>
	    </tr>
	  <% end %>
	</tbody>
</table>
And update our Stimulus controller to insert new rows:
received(data) {
  const tbody = document.getElementById("webhook-request-list");
  const newRow = document.createElement("tr");
  newRow.innerHTML = `
    <td><a href="/webhooks/${data.webhook_uuid}/webhook_requests/${data.id}">${data.id}</a></td>
    <td>${data.method}</td>
    <td>${data.host}</td>
    <td>${data.ip || 'N/A'}</td>
    <td>${new Date(data.created_at).toLocaleString()}</td>
  `;
  tbody.appendChild(newRow);
}
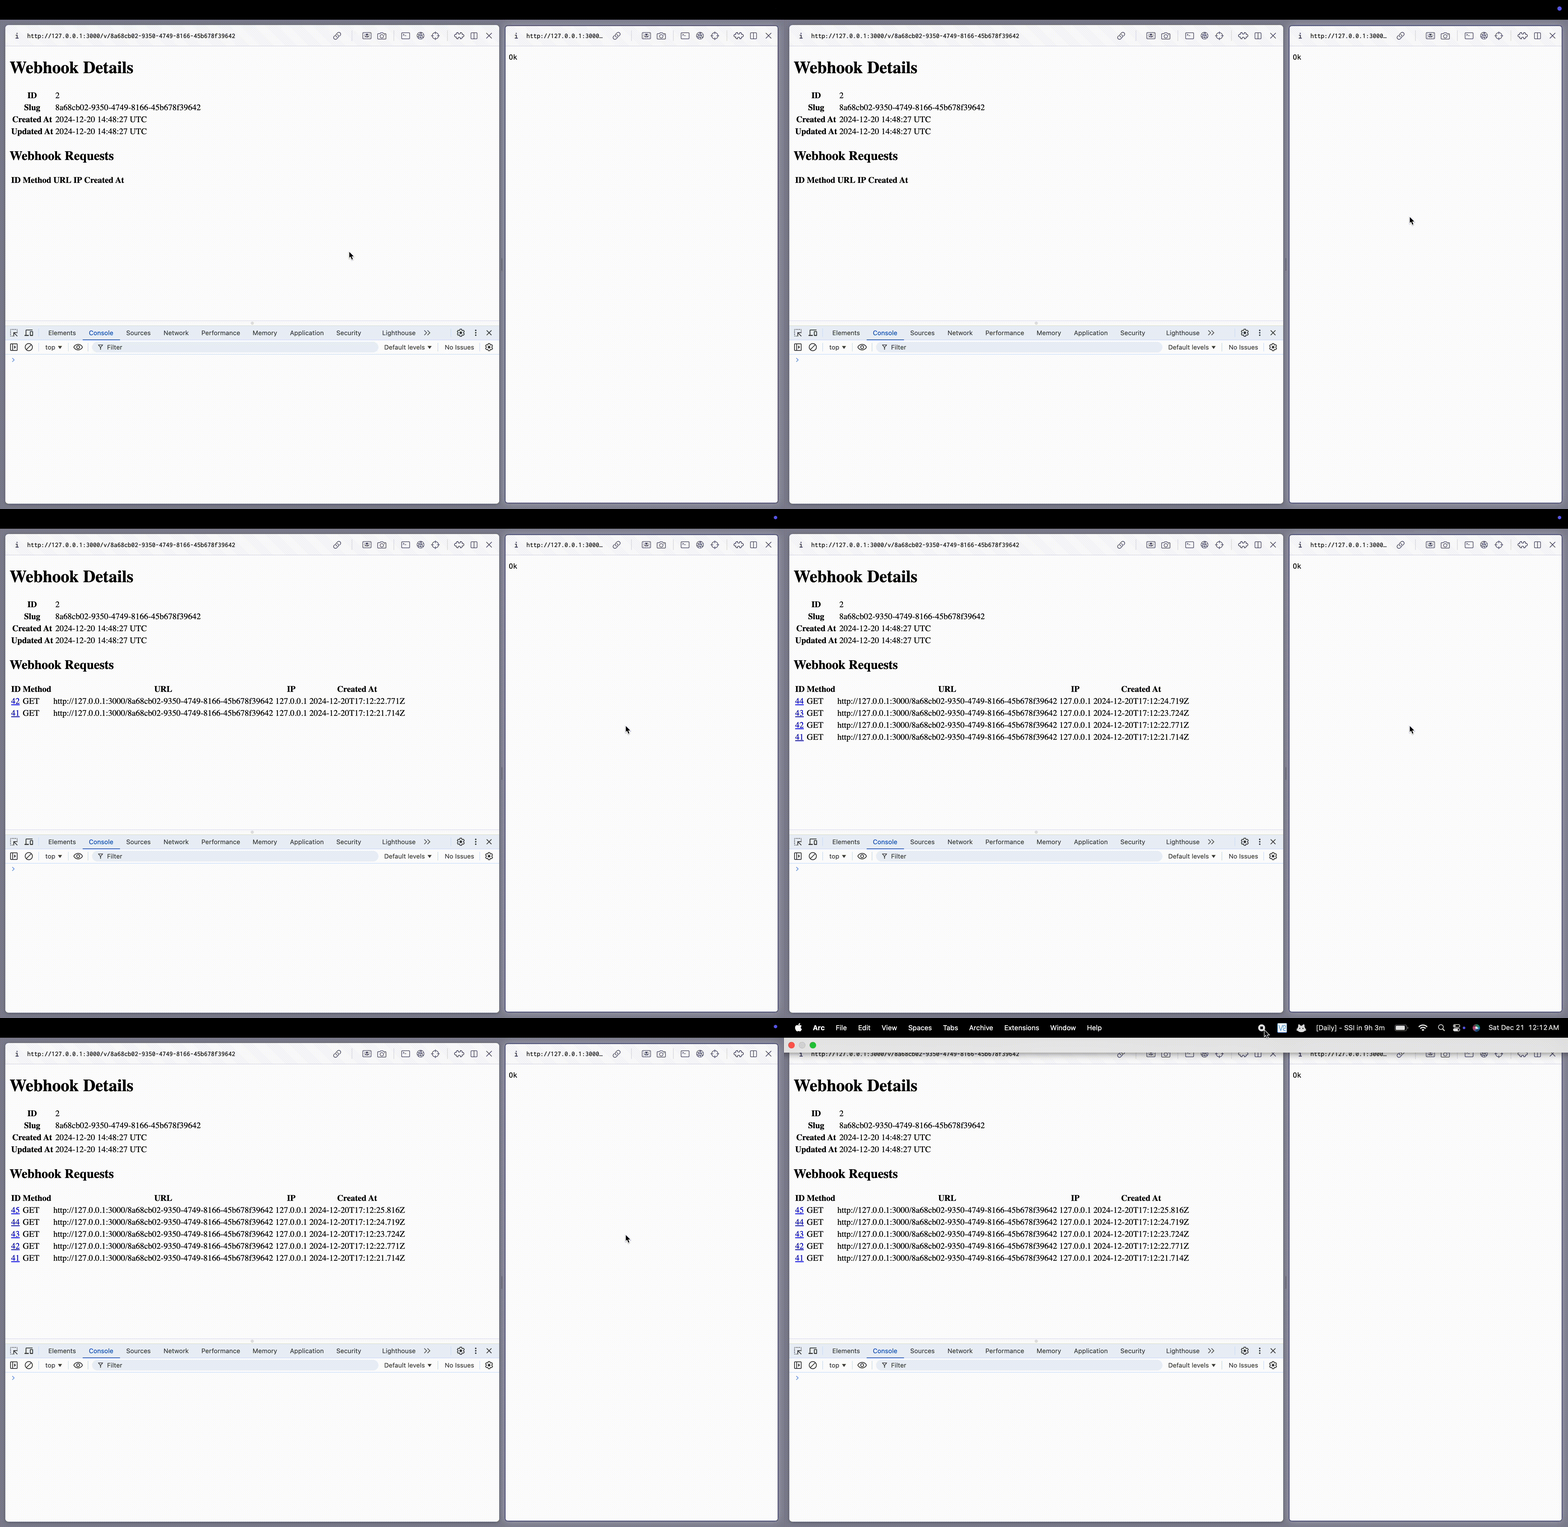
And that’s it! Now when a webhook comes in, it appears instantly in the table without requiring a page refresh. The real magic of Action Cable is how it makes these real-time updates feel seamless.

In the next post, we’ll look at how to make our webhook interesting by implement styling using tailwindcss. Stay tuned! 🚀