Setting Up a Rails Project for Webhookdump
- 2 mins readThe adventure begins! I embarked on a journey to set up a new Rails project for an application—Webhookdump.
Before diving into the details, I had to ensure that my local environment was equipped with all the necessary dependencies. For the record, I won’t be diving into the details of how I installed and set up these dependencies.
Dependencies:
- Ruby
- Rails gem
- SQLite3
With the prerequisites in place, the first step on my journey was to create the Rails application for Webhookdump:
$ rails new webhookdump
      create
      create  README.md
      create  Rakefile
      create  .ruby-version
      create  config.ru
      create  .gitignore
      create  .gitattributes
      ...

Bundle complete! 15 Gemfile dependencies, 83 gems now installed.
Use `bundle info [gemname]` to see where a bundled gem is installed.
Once the project was set up, it was time to configure the database. The database configuration is located in config/database.yml. By default, Rails uses SQLite as its database. I decided to modify the database name to match the project name.
# SQLite. Versions 3.8.0 and up are supported.
#   gem install sqlite3
#
#   Ensure the SQLite 3 gem is defined in your Gemfile
#   gem "sqlite3"
#
default: &default
  adapter: sqlite3
  pool: <%= ENV.fetch("RAILS_MAX_THREADS") { 5 } %>
  timeout: 5000

development:
  <<: *default
  database: storage/webhookdump_development.sqlite3

# Warning: The database defined as "test" will be erased and
# re-generated from your development database when you run "rake".
# Do not set this db to the same as development or production.
test:
  <<: *default
  database: storage/webhookdump_test.sqlite3

production:
  <<: *default
  database: storage/webhookdump_production.sqlite3
Then came the moment of truth. I started the web server by running rails server.
$ rails server

=> Booting Puma
=> Rails 7.1.3.2 application starting in development
=> Run `bin/rails server --help` for more startup options
Puma starting in single mode...
* Puma version: 6.4.2 (ruby 3.3.0-p0) ("The Eagle of Durango")
*  Min threads: 5
*  Max threads: 5
*  Environment: development
*          PID: 38945
* Listening on http://127.0.0.1:3000
* Listening on http://[::1]:3000
Use Ctrl-C to stop
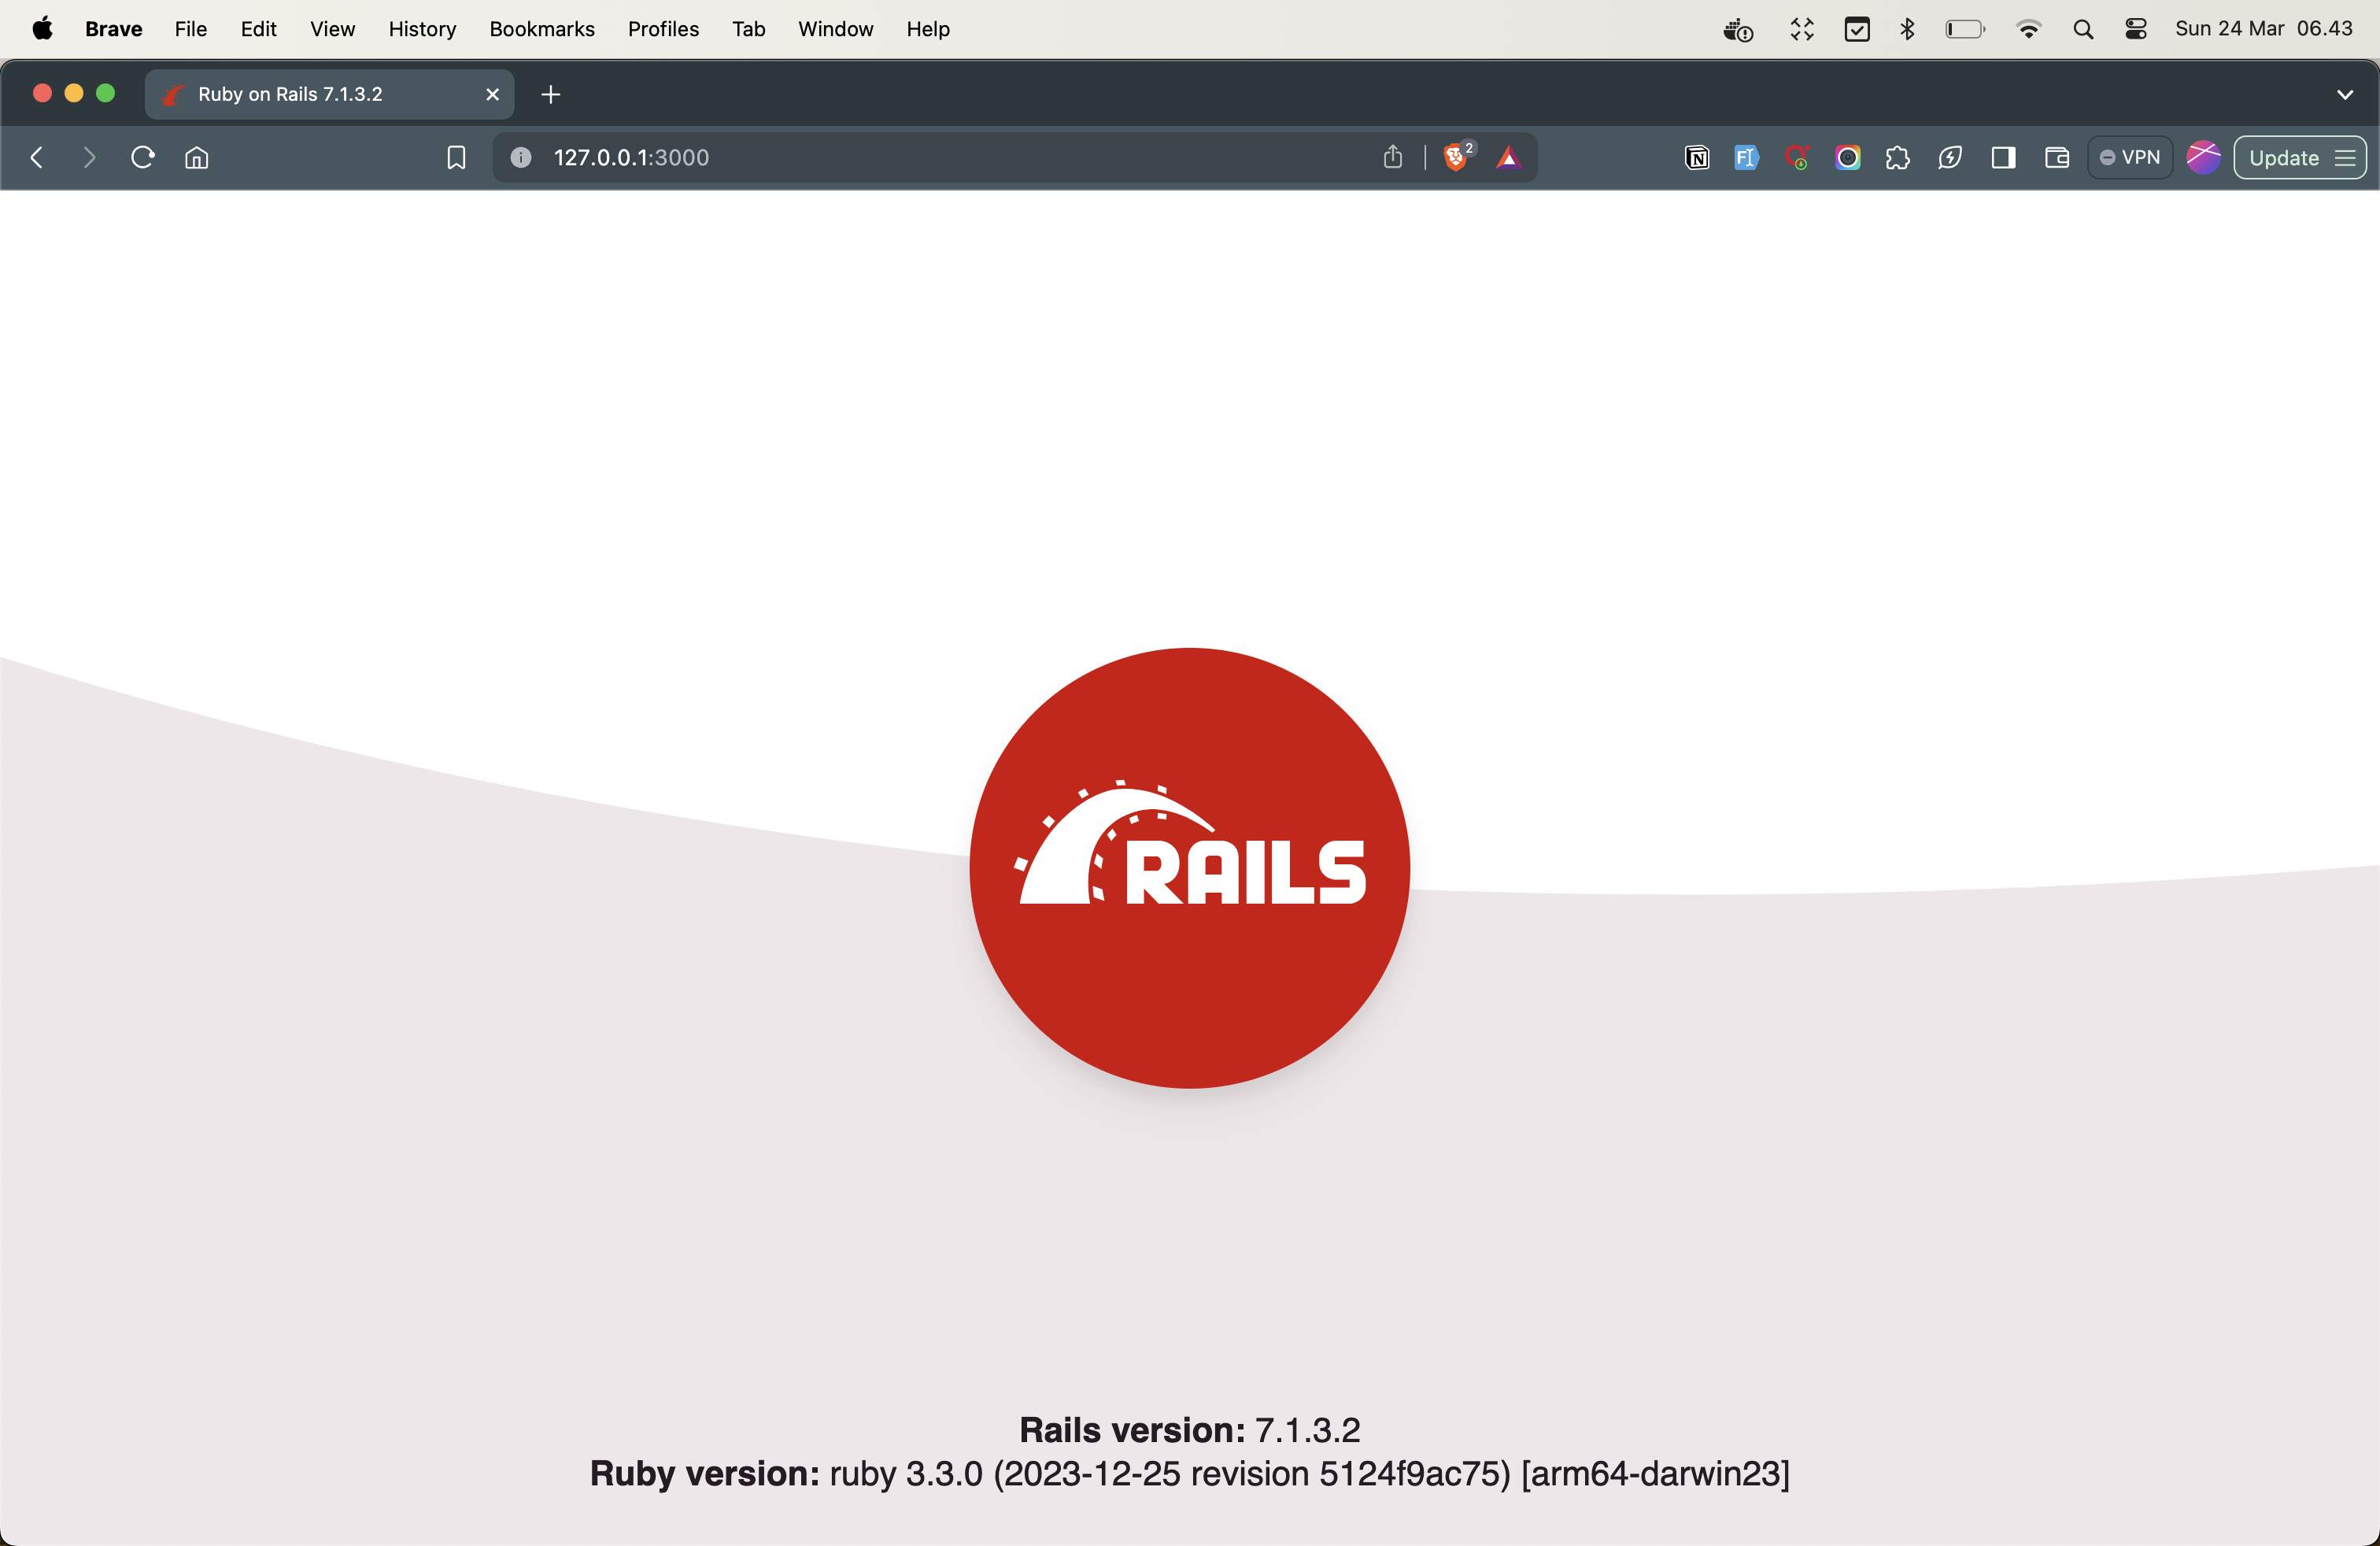
Next, I opened my browser and navigated to 127.0.0.1:3000. And voila!

And that was it - the Rails application, Webhookdump, was now installed on my local machine. In the next chapter of this journey, I’ll share how I began to add features to the application. Stay tuned!